
I own several fountain pens, in part because I am fascinated by their history and technology, but primarily because I enjoy using them in my correspondence and my sketchbook -- when they're working properly.
If you own fountain pens and are like me you have some pens that write like a dream, smooth as butter. But you may also have one or two pens that feel more like a dull chisel trying to gouge its way into your paper rather than a buttery-smooth instrument of joy and delight. (And you have my heart-felt sympathy if your first and only experience with a fountain pen to date has left you thinking, "This is a piece of junk!")
Of course, I know there are pen masters out there who can smooth out our recalcitrant nibs for us. But, unfortunately, my pockets aren't deep enough to warrant spending much to get a $10, $50, or even $100 pen to "play nice." But, when the folks at FPGeeks teamed up with Brian Gray (of Edison Pen Co. fame) to offer a FREE online seminar on nib tuning and smoothing entitled Tweaks for Geeks.... Well, this was one opportunity that didn't have to knock twice.

Richard Binder's freebie blotter paper (with the vintage pen art) is the perfect size to pop into a Rhodia webnotebook
OK, a quick qualifier: I said the workshop was free and watching Brian (either live on Saturday, or via YouTube now) is, indeed, completely free. If you want to participate hands on in the workshop you'll need a few items (and, of course, the FPGeeks/Brian Gray crew provide a free list in PDF form for your convenience). But if, like me, you don't possess the items you'll either want to watch the video first and decide whether or not to purchase the tools later, or you can simply follow the link Azizah, Stephen, Dan, and Eric have provided to Richard Binder's online store where for just $21 (plus $8 for Priority Mail service) you receive a complete Student Kit (including two practice pens) and 4 Tri-Grit Buff Sticks. These last two pieces are a brilliant addition as they free you up to learn from your mistakes (and isn't that the best way?) without risking that vintage heirloom you inherited from your father or grandfather.

The workshop itself runs 1 hour and 18 minutes and is divided into two parts: the first 15 minutes is a general introduction; and the remaining hour and 3 minutes is dedicated to testing the pen, checking/adjusting tine alignment, and nib smoothing. (Note: Brian highly recommends that ALL work on nibs be done in that order as most nib issues will, in fact, turn out to be tine alignment issues.)

one of my smooth-writing seminar souvenirs
By the time the workshop was over I'd checked all of my pens (over a dozen), smoothed out a few rough spots, and even had two new smooth-writing pens to give to my kids for their sketch kits. And the great news is that FPGeeks intend to add additional workshops covering other aspects of pen repair and enhancement in future. So, if you enjoy their first workshop, stay tuned for more fun soon!
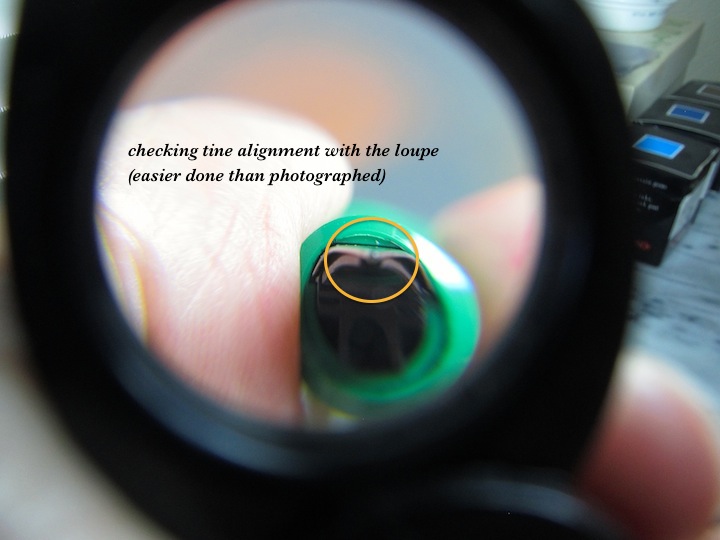
Parting note: since I had several optical loupes on hand already, I opted not to purchase a new one for the workshop. If you already have one and you have a source of LOTS of light in your work area you'll probably manage fine. But, after watching the demonstration of Brian's preferred illuminated loupe and struggling with lighting issues in my work space, I'll be adding that item to my tool kit before the next workshop. It's pretty clear after the first seminar that the loupe is the tool I'll be using most often and, in my mind, the few extra dollars spent are a worthwhile investment to avoid eye strain.
No comments:
Post a Comment